
The Myth of “Expensive = Better”
Many new keepers believe they must spend hundreds to give their gecko a healthy home.
In reality, leopard geckos thrive in simple, well-balanced setups. What matters most is heat stability, clean hides, and safe substrate — not designer décor or costly brands.
A well-planned budget enclosure can look just as professional as premium ones when built with care.
This guide shows how to design a complete setup that keeps your gecko happy and your wallet intact.
If you haven’t read it yet, start with the Leopard Gecko Tank Setup Guide to understand the heating, size, and airflow basics — then use this article to cut unnecessary costs.
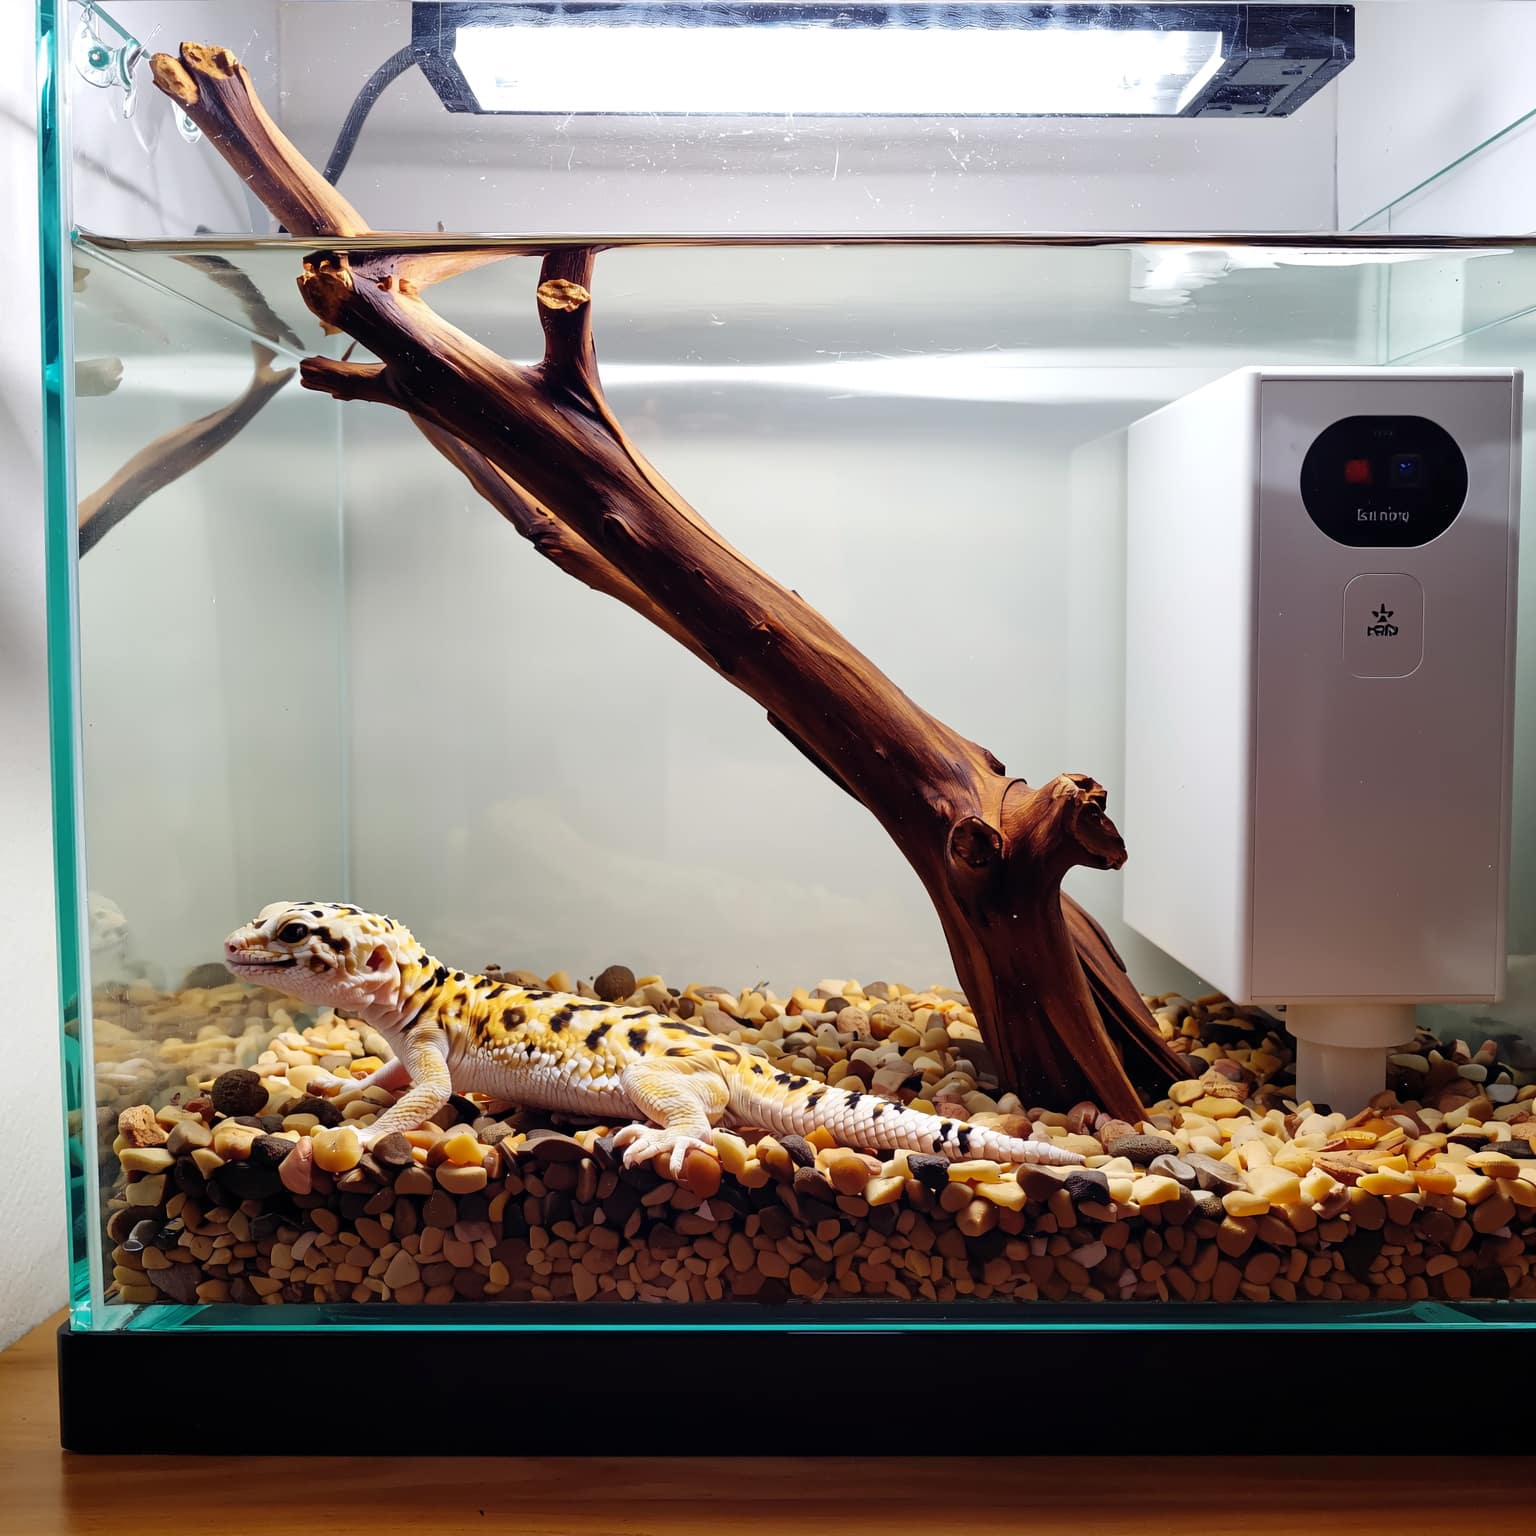
What “Budget” Really Means
For this guide, “budget” refers to complete setups under $150 USD that still meet the following standards:
- ✅ Safe heating with thermostat control
- ✅ Correct temperature gradient (75–92 °F)
- ✅ Three hides (warm, cool, moist)
- ✅ Easy-clean, non-toxic materials
- ✅ Reliable monitoring tools
You’ll see that comfort doesn’t come from price — it comes from planning.
Budget Breakdown (Under $150 USD)
Here’s what a safe, efficient setup actually costs in 2025:
| Item | Budget Option | Approx. Price (USD) |
|---|---|---|
| 20 gal long tank (used or PetSmart sale) | Standard glass aquarium | $40 – $60 |
| Under-tank heat mat | Zoo Med or Fluker’s U.T.H. | $20 |
| Digital thermostat | Inkbird ITC-308 or JumpStart | $25 |
| 2 digital thermometers | Amazon basics | $10 |
| 3 hides (DIY plastic boxes + moss) | Homemade or ReptiZoo | $10 |
| Water & food dishes | Reuse ceramic lids | $5 |
| Paper towel substrate | Household supply | $0 – $5 |
| Basic decor (fake plants or rocks) | Dollar store items | $5 – $10 |
| Total Cost | ≈ $120–140 USD |
Where to Save Smartly
- 🧻 Substrate: Paper towel = free, safe, easy to replace.
- 🪨 Hides: Cut plastic storage boxes with side holes; add damp moss.
- 💡 Lighting: Optional LED desk lamp for day rhythm — avoid UVB at first.
- 🔥 Heating: Always buy a thermostat — never skip safety.
For example setups at different budgets, browse the Starter Kit Checklist for exact models and safety tips.
DIY & Repurposing Ideas
Saving money often means using creativity. You can safely repurpose everyday items to create a functional enclosure.
1️⃣ DIY Hides
Use empty Tupperware or ice-cream containers. Cut a hole in the side, sand edges smooth, and fill one with damp sphagnum moss for shedding.
2️⃣ Homemade Backgrounds
Foam board or cardboard wrapped in vinyl makes a great non-reflective backdrop. Reduces stress and adds a clean look.
3️⃣ Recycled Décor
Flat slate tiles, smooth river stones, and fake plants from craft stores look natural without the price tag.
For layout inspiration, visit the Tank Décor Basics Guide.
4️⃣ Cheap Temperature Insulation
Place foam board beneath the tank and cover part of the mesh lid to retain heat — especially useful in cool rooms.
5️⃣ Upcycle Water & Food Dishes
Use shallow salsa cups or jar lids — just ensure they’re stable and non-metallic.
For more DIY ideas, see the enrichment section in the Safety & Wellbeing Guide.
Setup Process & Energy Efficiency
Even a budget setup needs precision. Follow this sequence for perfect results:
1️⃣ Install the heat mat under one-third of the tank and connect to a thermostat.
2️⃣ Place substrate (paper towel or tile).
3️⃣ Arrange hides: warm on heat side, cool on opposite, moist in center.
4️⃣ Add dishes and minimal decor for open paths.
5️⃣ Test temps for 24 hours before adding the gecko.
Energy-Saving Tips
- Use a ceramic heat emitter only if room drops below 68°F at night.
- Run heat mats on a smart plug or timer for consistency.
- Insulate tank sides with foam panels to reduce energy loss.
These techniques cut power use by 30–40 %.
For long-term efficiency, review Heating Mats vs Lamps — it compares wattage and temperature output for each method.
Maintenance & Final Tips
Budget tanks still require care and routine. Cleanliness and monitoring keep your setup running for years.
Daily
- Check both temperatures.
- Replace water.
- Spot-clean waste.
Weekly
- Replace paper towel substrate.
- Wipe glass with vinegar solution.
Monthly
- Deep-clean all hides and dishes.
- Test thermostat accuracy.
Detailed cleaning procedures are in our Tank Cleaning Routine Guide.
Final Thoughts
You don’t need expensive gear to create a healthy leopard gecko home.
By prioritizing heat, hides, and safety — and using DIY creativity — you can achieve professional results on a tight budget.
When you’re ready to upgrade, compare materials in the Glass vs PVC Tanks Guide to decide your next move as your gecko matures.
FAQs — Budget Leopard Gecko Setups
Can I build a leopard gecko tank for under $100?
Yes. A used 20 gal tank + heat mat + thermostat and DIY hides can cost around $90 while remaining safe.
Are used tanks safe for geckos?
Absolutely — as long as they’re disinfected with reptile-safe cleaner and sealed with no cracks.
What’s the cheapest substrate option?
Paper towel is free, hygienic, and perfect for beginners. Switch to tile later if desired.
How do I keep a glass tank warm on a budget?
Use foam under and behind the tank, cover part of the lid, and avoid drafty areas.
What’s worth spending money on?
The thermostat. It’s the most important safety device in any setup.